


FAQs
Browse and share LVX patches on Patchstorage. Click here to visit the LVX page on Patchstorage. You can also find the 81 factory presets, as well as any new LVX patches released from Meris.
- Download the 1.1.0 LVX Firmware, and extract the .zip file. For Mac users, double click the .zip file to extract. For PC users, right-click the .zip file and select “extract all” from the dropdown menu.
- To enter firmware update mode, press and hold footswitch 1 and 3 while powering up LVX. The screen will show a Copy File graphic screen.
- Connect to your computer via the rear USB C jack. LVX will appear on your computer as a USB drive. Drag and drop the latest LVX firmware image (bin file) from your computer onto the LVX drive. The LVX will display a load meter. When the load meter is full and your computer signals that it is done with the copy, eject the LVX drive.
- Power Cycle graphic screen will display. Unplug and replug the power from the LVX to complete the update. Click here for a video demonstration of the firmware update process.
From the Globals Edit Page, change the Tap Glide parameter from Off to On.
During development of LVX, our own 9V power supply, MXR and Cioks supplies were used for testing. After the initial release of LVX some users have reported that certain 3rd party power supplies were not powering up their LVX consistently. Depending on your location, we may be able to mod your LVX for compatibility with a greater number of power supplies. To inquire about the LVX startup mod, please send us an email.
The.zip file may have been transferred instead of the .bin. When transferring the firmware over, make sure to extract the .zip folder and drag the .bin file over.
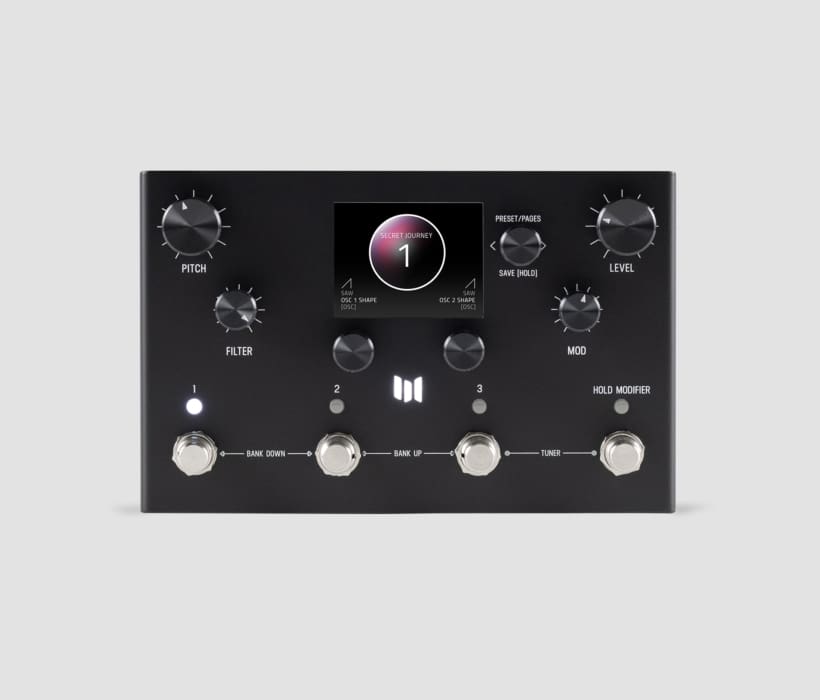
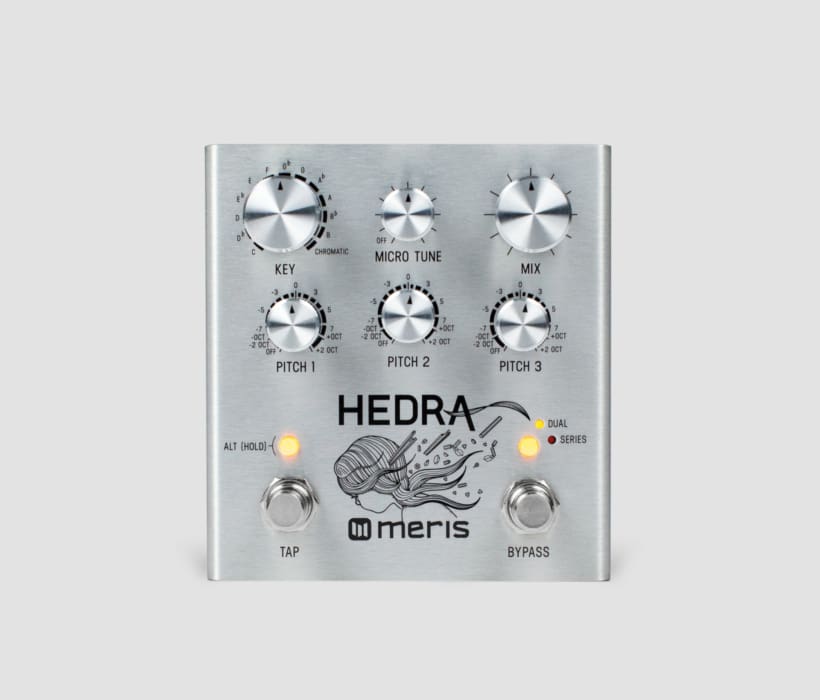
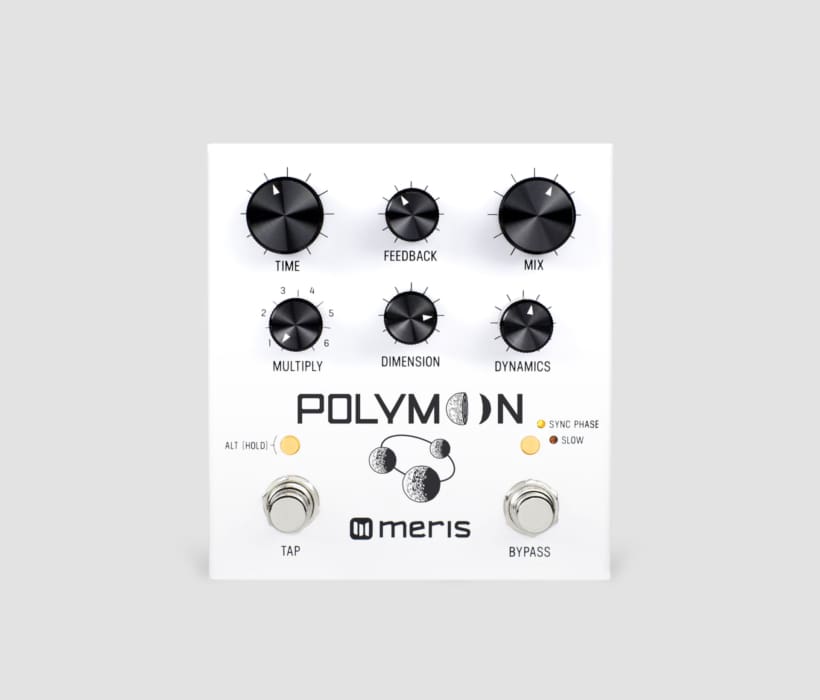
The LVX borrows many processing elements from the Enzo/Hedra/Polymoon, however it cannot completely replicate the unique effect engines. There are even greater possibilities when pairing your LVX with an Enzo, Hedra, or Polymoon.
LVX factory presets, as well as many user presets are available on our dedicated Patchstorage page here.
Yes. Download Meris Touch OSC templates here as a zip file.
Download Meris Sysex files here.
The stereo linking cable is a simple cable which is installed between 2 of our DSP driven 500 series modules. It allows a “master” module to send all parameters to a 2nd unit in the rack. This way 2 Mercury7 reverb modules, for example, can be linked together to synchronize their parameters. The “master” end of the stereo linking cable is indicated by a piece of white heat shrink tubing.
Our effects pedals can interface with almost any standard expression pedal with a TRS style 1/4″ cable. The Moog EP-3 or Dunlop DVP3 are both good choices.
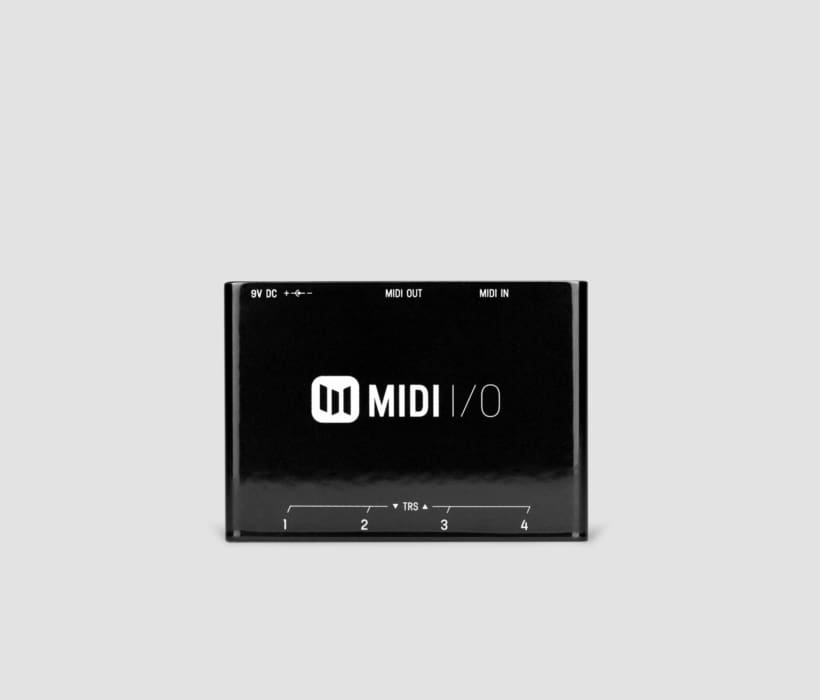
Our EXP jack can be configured in the global settings to accept MIDI input and also send MIDI data. In order to adapt to the 5 pin DIN MIDI standard, an external adapter is required. Now available is the Meris MIDI I/O which will work seamlessly with Meris pedals. The Meris MIDI I/O allows you to control up to 4 Meris pedals via MIDI, MIDI controller, wireless with a bluetooth adapter, from your DAW, etc.
***Also compatible with Empress and Chase Bliss* pedals (*requires special cable)
Each of our pedals supports up to 16 internal presets. A Meris Preset Switch can give you simple, instant access to the first 4 presets. To save a preset, press one of the footswitches on the preset switch, modify your sound, then hold ALT to save.
A MIDI I/O will give you access to all 16 internal presets via midi program change messages. To save a preset, send the desired midi pc message via a midi controller or application, modify your sound, then hold ALT to save.
Meris (two footswitch) pedals use a standard 9V DC center-negative power supply capable of at least 150mA of output current capability. Standard 9V “boss style” power supplies will work with Meris pedals as long as they can output more than 150mA. Daisy chain power supply configurations are discouraged since they can cause noise and ground loops. Multi output isolated power supplies are recommended as long as the high current outputs are used for Meris pedals.
During development of LVX, our own 9V power supply, MXR and Cioks supplies were used for testing. After the initial release of LVX some users have reported that certain 3rd party power supplies were not powering up their LVX consistently.
We have developed a hardware startup delay mod which increases compatibility with a wider range of 3rd party power supplies. The mod is already included on any LVX shipped direct from Meris as of Nov 10, 2022.
Initial 3rd party power supplies tested to be compatible:
– Meris 9V power supply
– MXR Mini Iso-Brick
– MXR Iso-Brick
– Cioks DC7
ADDITIONAL 3rd party power supplies tested to be compatible after startup delay mod:
– Voodoo Lab Pedal Power 3
– Voodoo Lab Pedal Power 4×4
– Strymon Zuma
– Strymon Ojai
– Voodo Lab X8
– Trutone 1 SPOT Pro CS12
– Cioks Ciokolate
– Rockboard ISO Power Block 9
– MXR ISO-BRICK PRO
The input jack on all (two footswitch) Meris pedals can be set to accept a TRS stereo input signal. You will need a TRS-Y cable adapter to connect the L and R input cables to the TRS stereo input. You must set your Meris pedal to TRS Stereo input in the global settings mode. The TRS Stereo LED will light on the back of your pedal when in this mode.
Meris pedals ship from the factory in mono input mode. Plug your instrument or previous pedal in the chain into the input jack with a standard unbalanced mono 1/4” cable. Use the LEFT output jack for mono operation. Any stereo effect from the pedal will be converted to mono when the LEFT output jack is connected alone.
We recommend using a MIDI to TRS conversion box, like our MIDI I/O, to send MIDI to Meris pedals. MIDI Standard requires the active opto-isolator electronics built into these boxes for a reliable, guaranteed connection. There are MIDI to TRS cables available on the market, but we cannot guarantee their reliability or compatibility. Converting MIDI to TRS without the required active electronics can cause grounding issues, latency, reliability issues or non-functionality.
After entering global settings mode and setting the desired settings, simply power down (unplug the power cable) to save those settings. When you power up the pedal again in normal mode (don’t hold any switches), the new global settings will be applied. Your global settings will remain until they are changed again or a “factory reset” is performed.
Meris pedals can use incoming CV (control voltage) from 0-3.3V to sync tempo or modulate parameters. To sync to clock: set your Meris pedal’s EXP jack to Tap in the global settings and send an inverted pulse wave clock signal. Set the EXP jack to expression to use incoming CV (0-3.3V) to modulate parameters like an expression pedal would. The 0V and 3.3V extremes will act the same as the “heel” and “toe” of an expression pedal. All parameters can be modulated simultaneously.
MIDI control of our pedals will allow you to control 16 presets and use an expression pedal at the same time, as long as your MIDI controller has an expression jack. Connect your expression pedal to your MIDI controller and assign CC#4 with a range of 0-127. The expression pedal will work just as it would without MIDI; a separate heel and toe setting and the expression pedal morphing between all parameters simultaneously. Heel and Toe expression settings are saved within each preset. After setting your heel and toe settings, hold ALT to save. When you recall the preset with a PC message, the expression pedal settings will be saved.
Yes, the Preset Switch can control multiple Meris pedals simultaneously. All you need to accomplish this is a TRS splitter cable that duplicates all of the signals of a TRS plug on two jacks (NOT an insert type Y cable). The Hosa YPP-118 is a common example of this. Be sure to set all of the pedals to “Preset Switch” control in the global settings for the EXP jack.